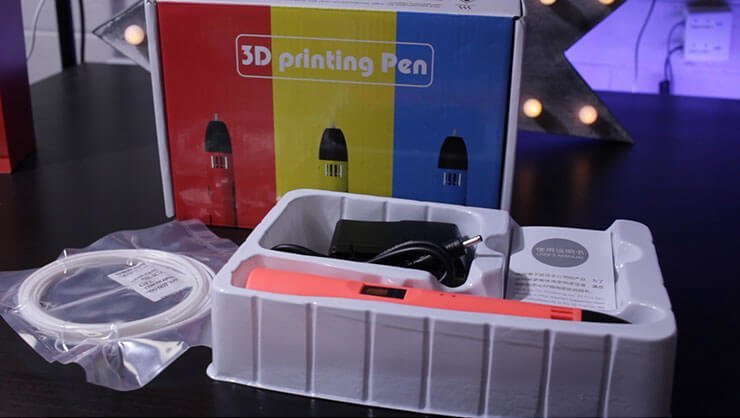
I reached out to ESUN who sent me their latest 3D Printing Pen. And boy was I excited. I was able to create something amazing and learn some new techniques to pass on in the future. I’ve also included instructions and diagrams in English so I could understand the operation of the unit better and pass this on to you.
Table of Contents
My First 3D Pen Creation
 I’ve never used a 3D Printing Pen before so this is my very first time. I discovered along the way that you can smooth the printing by pressing on the filament whilst it is still warm. Just don’t burn yourself. The following creation was filmed and took roughly 1.5 hours to create. Death Note is one of my favourite anime series so I had to create something cool. I intended to create it pretty close to the original, but I ran out of room to fit the words “Death Note” on one line. Still, it looks pretty cool.
The filament extracted pretty fast, sometimes too fast. Having the option to slow down the filament extraction was a huge plus in my mind. Especially when you are trying to create something with precision. In saying that though, the Esun LTP 2.0 3D Pen was really easy to use except for the instructions.
LTP 3D Printing Pen English Instructions

This is the top view of the LTP 2.0 3D Printing Pen. The filament loading hole is located towards the front of the 3D Pen. Which only leaves the power adapter hole which is located almost central to the top of the 3D Pen.
The front view is where it gets a little more complicated.

USING PRESET TEMPERATURE
- When you first plug in device, the LCD screen will display [L]
- Pressing the Retract Filament button will cycle between the two preset temperatures of [L] and [H]
- Once happy with your choice, press the Extrude Filament button to set the temperature and start heating the hotend.
- The Heat / Ready Light will come on RED and will start display the temperature increasing on the LCD.
- Once it reaches temperature (85 or 185), the light will change from RED to BLUE.
- You can now start holding the Extrude Filament button to pull the filament through. This will take a while depending on your speed choice.
USING CUSTOM TEMPERATURE
- When you first plug in device, the LCD screen will display [L]
- Pressing the Increase Temperature button to start increasing the temperature from 85 degrees celcius.
- Once happy with your choice, press the Extrude Filament button to set the temperature and start heating the hotend.
- The Heat / Ready Light will come on RED and will start display the temperature increasing on the LCD.
- Once it reaches your temperature choice, the light will change from RED to BLUE.
- You can now start holding the Extrude Filament button to pull the filament through. This will take a while depending on your speed choice.
I hope this has helped you understand what you can do with a 3D PRinting Pen and also how to use it. If you like this post, why not check out the TechWizTime Youtube channel and check out my other awesome videos.
