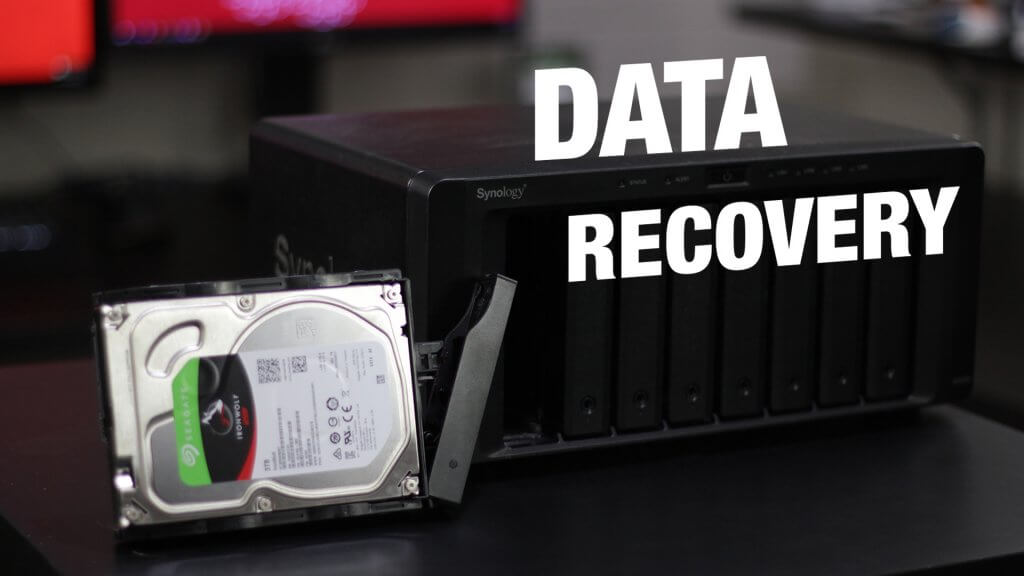
In this article, you are going to learn how to safely recover all of your data after a Synology NAS hardware failure.
If you really enjoy this article, consider checking out my TechWizTime YouTube Channel.
And for an awesome source of Raspberry Pi Accessories, check out my Raspberry Pi Amazon List.
Let’s get started!
Table of Contents
WHAT YOU’LL NEED
- A spare PC with enough SATA ports to connect all your NAS Hard Drives.
- A Ubuntu Live CD or USB stick greater than 8GB to boot the computer.
- Your HDDs’ file system set up in either EXT4 or BTRFS.
DOWNLOAD THE UBUNTU IMAGE

Go to the Ubuntu downloads page and choose your ISO. In this tutorial, we’ll be using Ubuntu 16.04.2 LTS.
DOWNLOAD THE LINUXLIVE (LiLi) USB CREATOR

Go to this page to download the LiLi USB Creator, this will allow us to create a bootable USB Stick with persistent storage.
WRITE THE IMAGE ON THE USB

Insert the USB Stick into your PC and start up the LiLi USB Creator.
Choose the USB Stick you want to use from the “Choose a USB Key” box in Step 1.
Next, in Step 2, choose ISO/IMG/ZIP icon and then locate the Ubuntu ISO file you just downloaded.
In Step 3, place the slider all the way to the right to select all the space of the USB Stick to be used as “Persistent Storage Space”
At Step 4’s default options are perfect here.
In Step 5 all you need to do is click on the Lightning icon to start the installation. This will take a while depending on numerous factors but once the process is done and you see a message saying “Your LinuxLive key is now up and ready!” Eject the USB Stick and take it to the PC with all your NAS Hard Drives connected and ready to boot.
RECOVER THE DATA

NOTE: Depending on your motherboard manufacturer and the BIOS you are running, you will need to find and enable the option to allow booting from USB and also set the boot order for USB first.
Insert your USB stick, make sure all your hard drives have power and are connected via SATA and boot up your PC.
Once the boot process is complete and you are inside the Ubuntu Operating System, go the the left hand side up top and click on the “SEARCH” icon, then type in the word “TERMINAL” and it should appear in the list, when it does, click on it’s icon.
Now you need to install some software to allow you to access the data stored within the RAID.
- Install mdadm by typing “sudo apt-get install mdadm”. Once given the option, select “No Configuration” and the installation will be complete.
- Install lvm2 using the command “sudo apt-get install lvm2”
After installing the required software, you can mount all of the Synology Diskstation hard drives using “mdadm -Asf && vgchange -ay”
Once the process is is done you should see a message saying something about volume group X now being active. This means the volume is now mounted and can be accessed from the Filing Cabinet icon on the left hand side menu.
NOTE: You need to be aware that you will need to transfer your precious data to either an external USB hard drive or to another Network Attached Storage device. Make sure you have either a large enough single USB Hard Drive or enough separate drives to transfer all your data from the RAID Array.
NAS DATA SAFELY RECOVERED
Congratulations, you’ve just recovered all of your data saved in your HDDs after a NAS hardware fail.
Could you do everything by yourself? Did you had any problems during the tutorial? Have any suggestion? Then leave a comment below.
If you’d like to set up your very own Virtual Machine, you can follow this tutorial to create a Windows VM. Or this one for an Ubuntu VM

will it be able on windows too?
Hello,
i found your videos looking for the solution to my issue with Raid5 3TB drives failure mounted on iomega storcenter px12-350r
do you think this method will be valid in my case ?
if not could you please advise any ways to proceed ?
thanks!
As long as the RAID5 is complete and no drives are missing (and they are in the correct order), then this method should work.
What about ext3?
I get a permissions error when trying to mount the drives.
2
Thank you very much Jonathan!
After installing a new clean version of Synology DSM I couldn’t access my files. With your tutorial I was able to recover my files. Now working on getting them back on my NAS again.