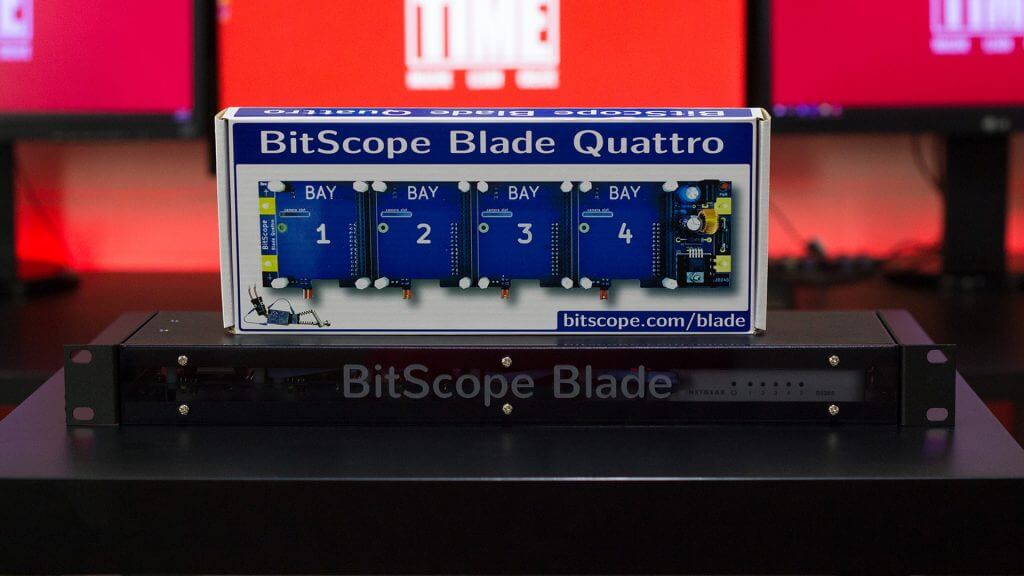
In this article, you are going to learn how to setup your own Raspberry Pi Cluster using the Bitscope Blade Rack.
If you really enjoy this article, consider checking out my TechWizTime YouTube Channel.
And for an awesome source of Raspberry Pi Accessories, check out my Raspberry Pi Amazon List.
Let’s get started!
Table of Contents
What You’ll Need
- The contents included in the Bitscope Blade Rack box:
- 2 panels for the enclosure,
- The front cover
- 2 ears for the rack.
- The Quatro Pi board
- A 5 port network switch.
- 4 Ethernet Cables
- 2 pieces of double sided tape for mounting the Network switch inside the Rack.
- 4 M3 metal standoffs
- 16 M2.5 Nylon standoffs
- 8 M4 screws
- 4 6mm M3 Screws
- 6 10mm M3 Screws
- 32 M2.5 screws
- 4 M3CSK Screws
- 4 M3 Washers for the 6mm M3 Screws
Install The Raspberry Pis

Place the 16 M2.5 nylon standoffs between the Quatro Pi board and the Raspbbery Pi’s.
Use the 32 M2.5 screws either side of the standoffs.
Insert the GPIO pins into the board.
Allow The Blade To Be Connected To The Electricty

Use the 4 M3 Washers and the 4 6mm M3 Screws to attach attach the 4 M3 Metal standoffs to the Quatro Pi.
NOTE:In case you want to power the Quatro Pi board via the mounting tabs at the blade edges, you will need to replace the metal standoffs with nylon standoffs yourself.
Attach The Quatro Pi To The Metal Board

Grab the 4 M3CSK Screws and attach the metal panel to the standoffs.
Once you’re done, flip it back over.
Attach The Network Switch

Attach the double sided tape to the bottom of the 5 port network switch.
Press the switch onto the metal panel. Remember to orient the ports to the same side as the Raspberry Pi ethernet ports.
Connect the ethernet cables from each Raspberry Pi to the 5 port network switch.
NOTE: You can use the cable ties included with the blue Ethernet cables to make your cable setup tidier.
Close The Blade Rack

NOTE: Before we continue plug in the power for the Blade and the Network switch. And if you’ve got your Micro SD Cards prepared, put them in now too.
Place the top metal panel on top now and use the two ears and the 8 M4 screws to connect the two panels and ears together.
Use the 6 10mm M3 screws, attach the Front Cover to the metal panels and then we are done!
The Bitscope Blade Rack is constructed and ready to be powered on.
Construction Of A Bitscope Blade Rack Finished
Congratulations, you’ve just created your own Raspberry Pi Cluster, built it, placed your Pis inside and that’s it for this tutorial.
Could you build it by yourself? Did you had any problems during the tutorial? Have any suggestion? Then leave a comment below.
