In this article, you are going to learn how to check your HDD/SDD health using Synology NAS Hard Drive Health Management tools.
If you really enjoy this article, consider checking out my TechWizTime YouTube Channel.
And for an awesome source of Raspberry Pi Accessories, check out my Raspberry Pi Amazon List.
Let’s get started!
Table of Contents
What You’ll Need
- Synology DiskStation NAS
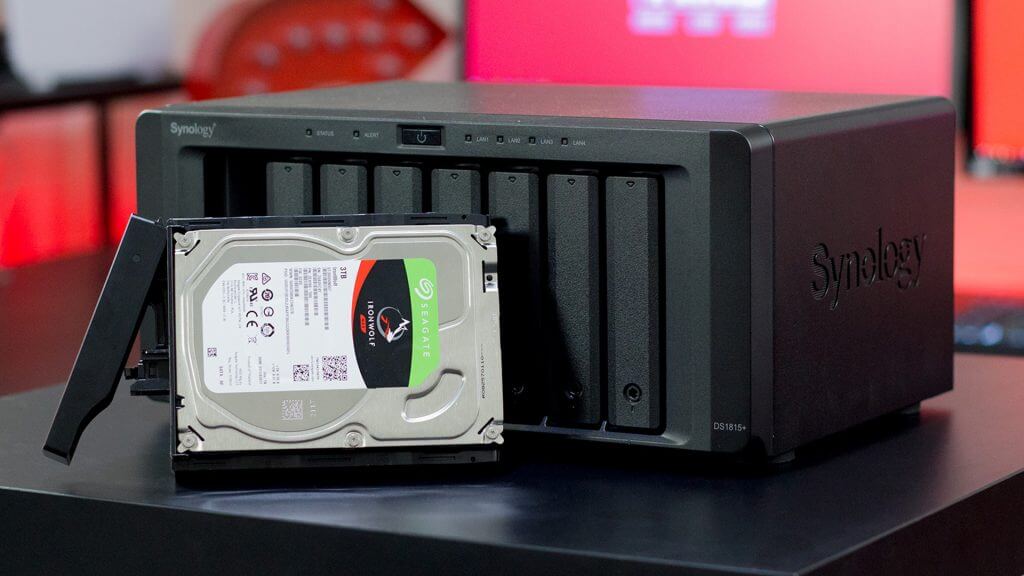
- Synology DS1815+
- Your Hard Drive Disks
Create An E-Mail Notification

Open the web interface open.
Click on the DiskStation menu in the top left hand corner and choose Control Panel.
Inside Control Panel, under the System sub-section, click on Notification.
On this window, put a check beside “Enable Email Notifications”.
You have the option of using Gmail, Yahoo!, Outlook, QQ, or your own Custom SMTP Server. In this tutorial, we’ll use Gmail
Type in your full email address in the “Recipient Address” box.
In the Subject Prefix box, type in something that will catch your attention, in this tutorial we’ll type in “Synapse NAS Warning”.
To make this work, click on the “Log Into Gmail” button. This will launch the Gmail login page where you can log in.
Once logged in, allow access between Gmail and Synology Mail Notification by clicking on the “Allow” button and then on the “Agree” button.
You can check if the notficacions are working by clicking on the “Send A Test Email” button, then login to your Gmail account to see if the email has come through.
NOTE: The procedure for Yahoo, Outlook and QQ is the same. For Custom SMTP Server, all the details need to be entered manually (Address, Port, Sender, Secure Connection, etc).
Set Up “Bad Sector” Warnings

Click on the “DiskStation” menu in the top left hand corner.
Choose Storage Manager.
Looking down the left side, click on the “HDD/SDD” menu and across the top,
Choose the “General” tab.
The Bad Sector Warning section should be checked by default, if not, check it now.
You can also modify the number of Bad Sectors before it changes the status of the Hard Drive. 50 bad sectors is the default value.
Go up a little and you’ll see the “Disk Health Report section”.
It should be ticked by default and give us a date and time of when the next report e-mail will be sent out.
Set Up A S.M.A.R.T Scheduled Test

Click on the “DiskStation” menu in the top left hand corner and choose Storage Manager.
Go down the left side and click on “HDD/SDD”
Across the top choose the “Test Scheduler” tab.
Create a new S.M.A.R.T. Test Schedule by clicking the “Create” button.
Here you’ll need to give this task a name and select between “Quick” and “Extended”. Quick will run the test in the shortest time possible while extended will check everything on your Hard Drive.
Under “S.M.A.R.T. Test Range”, you can choose only certain disks if you want by clicking on each one in the list.
If you want to control when the tests will run, you need to click on the “Schedule” tab up the top. Here you can control when the tests will run.
Create A RAID Redundancy

Go to the Synology website.
Go to the “RAID Calculator”
Select all the HDDs you wish to create a RAID for.
Select the RAID type.
SSD Backup Thru A Synology DiskStation NAS feat DS1815+ Finished
Congratulations, you’ve just configured automatic e-mail notifications for your HDDs, set up a programmed check every once in a while, received your first status report thru e-mail and that’s it for this tutorial.
Could you build it by yourself? Did you had any problems during the tutorial? Have any suggestion? Then leave a comment below.