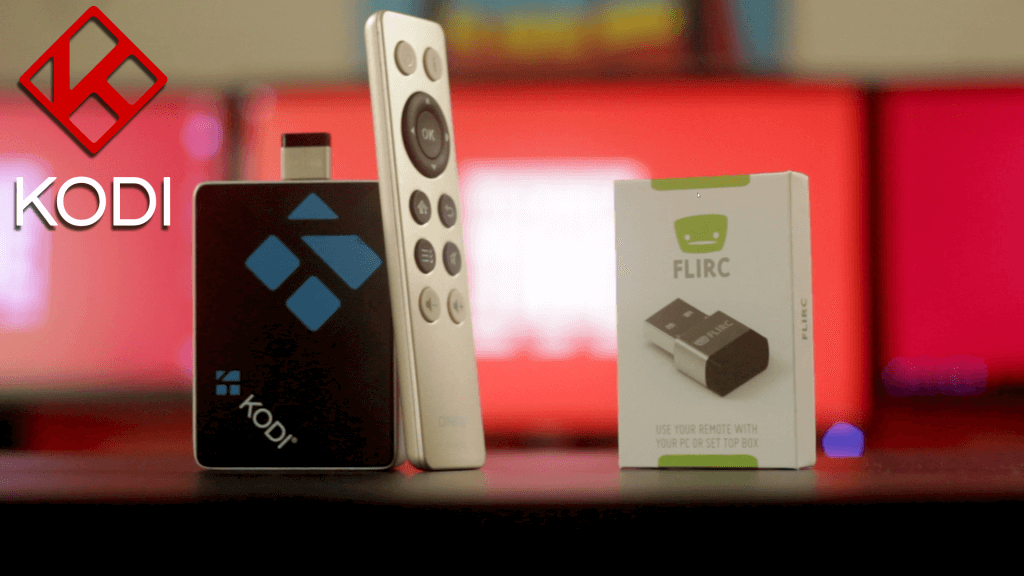
In this article, you are going to learn how to configure your remote control to use it with Kodi using FLIRC.
Is recomended that you use this remote while you enjoy your streamings via Exodus, click here to learn how to install Exodus in Kodi.
If you really enjoy this article, consider checking out my TechWizTime YouTube Channel.
And for an awesome source of Raspberry Pi Accessories, check out my Raspberry Pi Amazon List.
Let’s get started!
Table of Contents
What You’ll Need
Download The FLIRC’s Tool

Go to http://flirc.tv.
Click on “Donwloads”
Select your Operating System.
Accept the Terms and Conditions and click on “Latest version” to download the software.
Install the program you just downloaded and start it up.
Configure Your Remote

Insert the FLIRC USB device on your PC.
You’ll see a screen telling you that a firmware update is available, click “OK” and wait for it to update.
Go to “Controllers” and then click on “Kodi” once the update finished.
Map the buttons of your controller.
Disconnect the USB device form your device and insert it on your Raspberry Pi.
Use Your Controller

Once you’re inside your Raspberry Pi press the “Up”, “Down”, “Left” and “Right” buttons to move thru the menus.
Enjoy your streamings, shows or movies on Exodus without needing a keyboard anymore.
Remote Control Configuration Tutorial Finished
Congratulations, you’ve just configurated your remote controller to work with Kodi on your Raspberry Pi and that’s it for this tutorial.
Could you do it by yourself? Did you had any problems to install Exodus? Have any suggestion? Then leave a comment below.