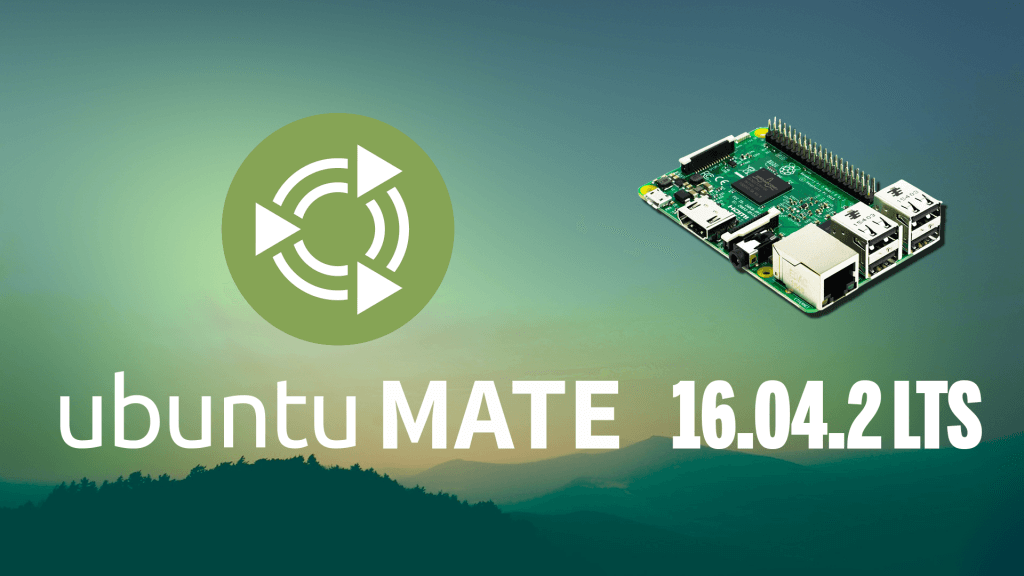
In this article, you are going to learn how to install Ubuntu MATE on your Raspberry Pi.
If you really enjoy this article, consider checking out my TechWizTime YouTube Channel.
And for an awesome source of Raspberry Pi Accessories, check out my Raspberry Pi Amazon List.
Let’s get started!
Table of Contents
What You’ll Need
- Raspberry Pi 2 or 3
- Ethcer
- Latest Ubuntu Mate Image
- 8GB MicroSD Card
Download The Image

Go to http://ubuntu-mate.org to download the lastest Image available.
Click on the “Downloads” button.
Click on the “Ubuntu MATE 16.04.2 LTS”
Click on the “Raspberry Pi” option.
Select your favorite download, either Torrent or Direct download.
Writing The Image

Open up Etcher and Click “Select Image”.
Select the Ubuntu MATE Image we just downloaded.

Click on “Select Drive” to select the Drive you want your image to be copied to.

Click on “Flash” and wait for it to copy the image to your SD Card.
After it is done, it’ll automatically unmount the SD Card so you can take it from your Computer to continue the process on your Raspberry Pi.
Setting Up Ubuntu MATE

Wait for Ubuntu MATE to boot, it will automatically rezise the partition so it uses the whole MicroSD Card.
You’ll be prompted with the “System Configuration” screen.
Pick your language and then hit “Continue”
Pick the closest city to yours in the map and hit “Continue”
Your keyboard settings will be auto-detected, after they are, click on “Continue”
The system will continue to configure itself, and after it is done, it’ll reboot.
Once the system reboots, you’re ready to use Ubuntu MATE.
Installation of Ubuntu MATE Finished
Congratulations, you’ve just installed Ubuntu MATE into your Raspberry Pi and that’s it for this tutorial.
Could you install it by yourself? Did you had any problems during the installation? Have any suggestion? Then leave a comment below.
